Example Limewash Projects in Everett

Four Everett limewash jobs are planned out below. Two are 1980s houses, one with a front-hall test wall and one with a stone entry. One is a dining room in a 1940s house, and one is a new shop.

Test wall in the front hall of a 1980s house

Example project
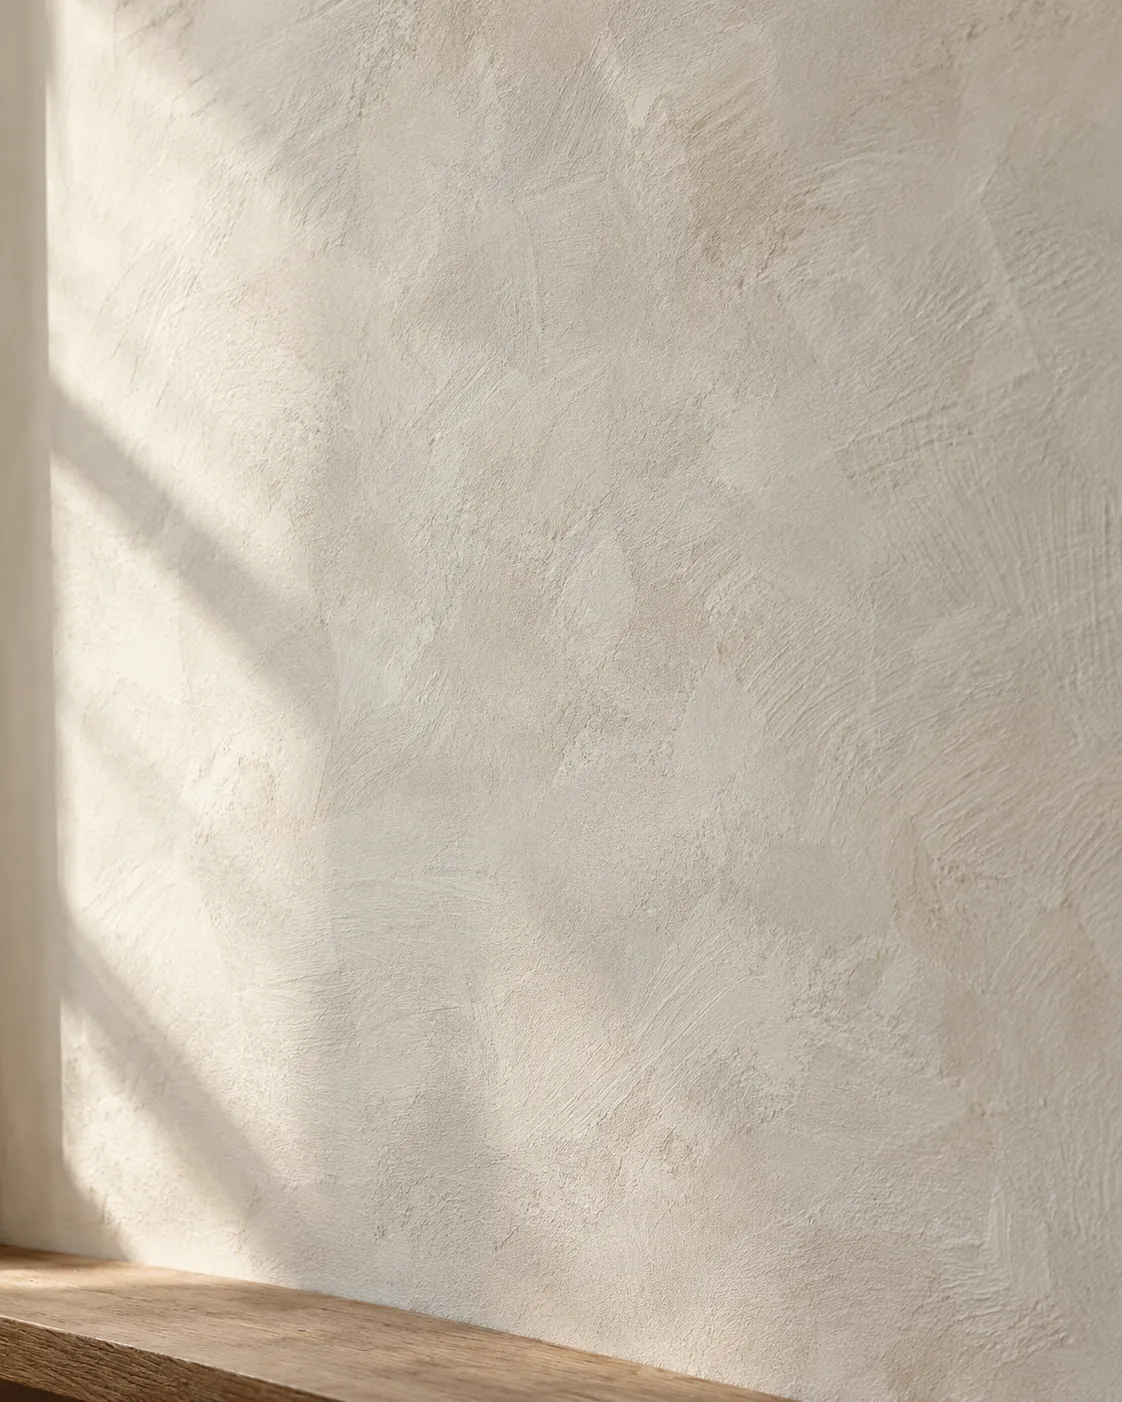
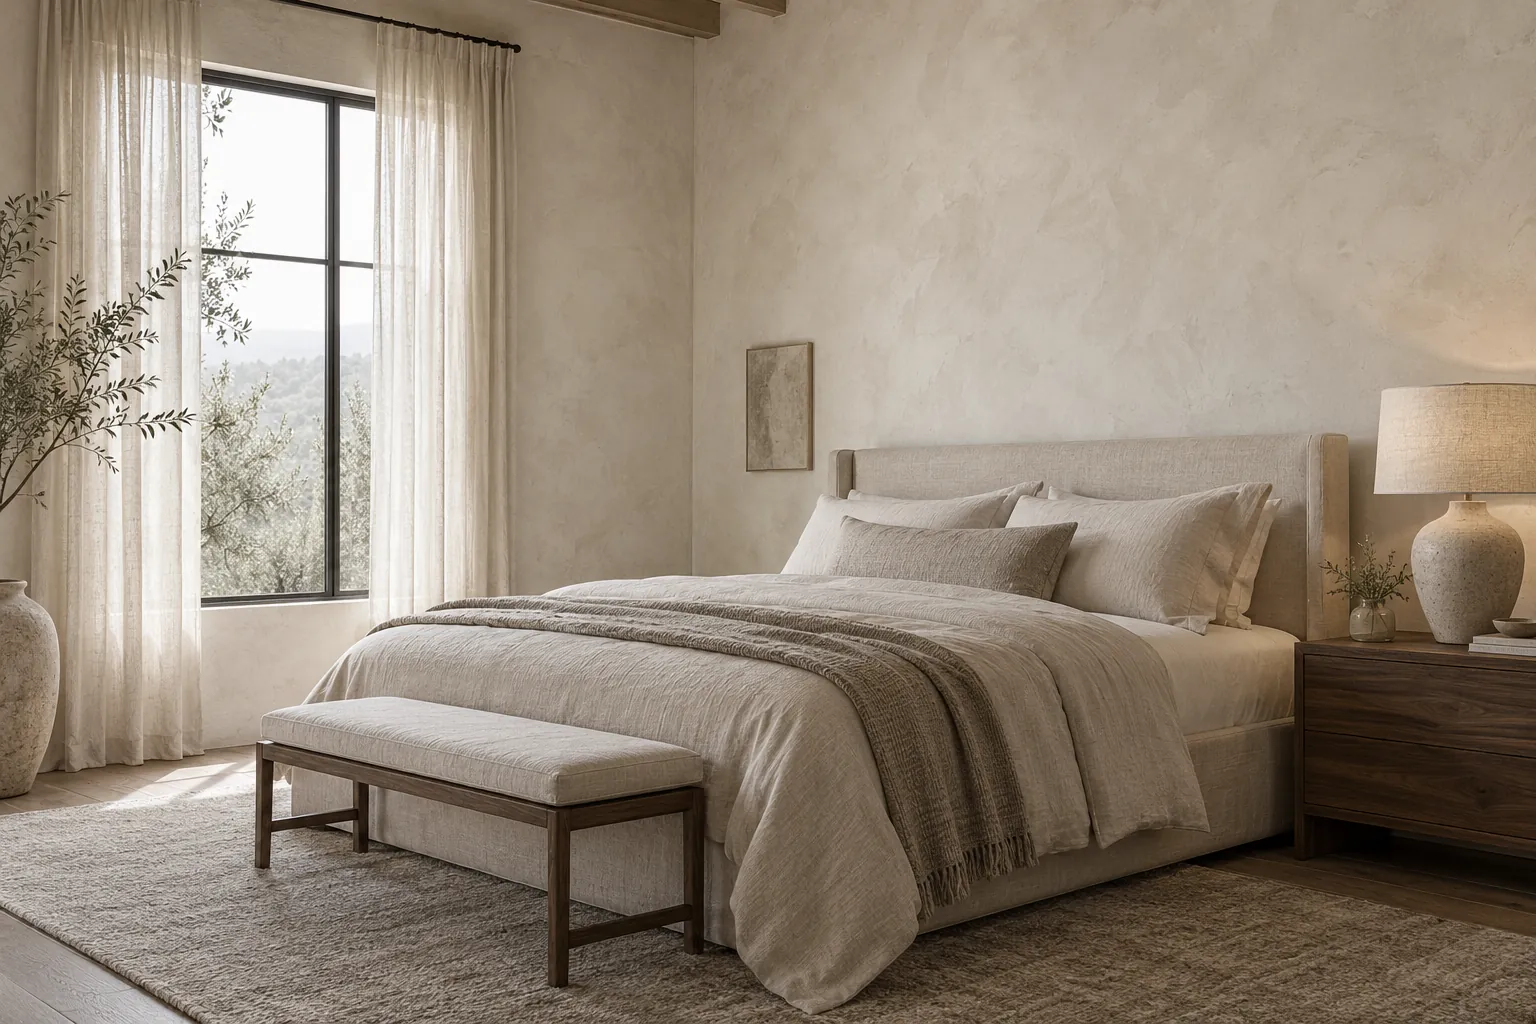
Front hall wall in warm white limewash above an oak bench, with window light falling across it
Home
1980s house, front hall wall above a built-in oak bench
Original request
Try limewash on one wall before deciding on more rooms
Surface
Painted drywall
Area
About 110 sq ft of wall
Existing finish
Flat latex paint in builder white
Finish
Warm white lime paint for painted walls, two coats on its undercoat
Timeline
Two working days
Cost
$1,050

Scope of work

Masking the bench, floor, trim and window; filling nail holes; the undercoat the product needs over flat paint; two brushed coats; three sample boards left with the owners. The other hall walls stay as they are for now.

Project overview

In this example, the owners like limewash in photos but are not sure how it will feel in their own house. Before they commit to the living room and stairs, they want one wall done properly, in the hall they walk through every day.

The wall above the oak bench gets strong side light from the window, which is a hard test for any finish. If the brush marks and soft clouding still look right there in the morning and at night, the rest of the house is an easier decision.

The goal

The goal is one finished wall the owners can live with for a few weeks, so the choice about the rest of the house comes from their own hall and light, not from photos.

Process

  1. Before work Boards brushed in warm white, oatmeal and pale stone, propped on the bench for a few days.
  2. Day one Bench, floor and trim masked, holes filled and sanded, undercoat rolled on.
  3. Day two First coat in the morning and the second in the afternoon once the first is dry, each brushed corner to corner.
  4. A few weeks later The owners decide on the next rooms, and the same color can be ordered again.

Planning right

  • Flat paint in good condition only needs the right undercoat. Paint with a sheen needs light sanding first, so check which one you have.
  • A fresh board looks darker for the first few hours. Choose the color the next day, when it is fully dry.
  • A test wall should end at a corner or a door frame. Stopping halfway along a wall leaves a line that shows later.
  • Lime color can shift a little from batch to batch. Keep the color name and batch number for the rooms that follow.
Request a free quoteMore about interior limewash walls

Deep taupe dining room in a 1940s house

Example project

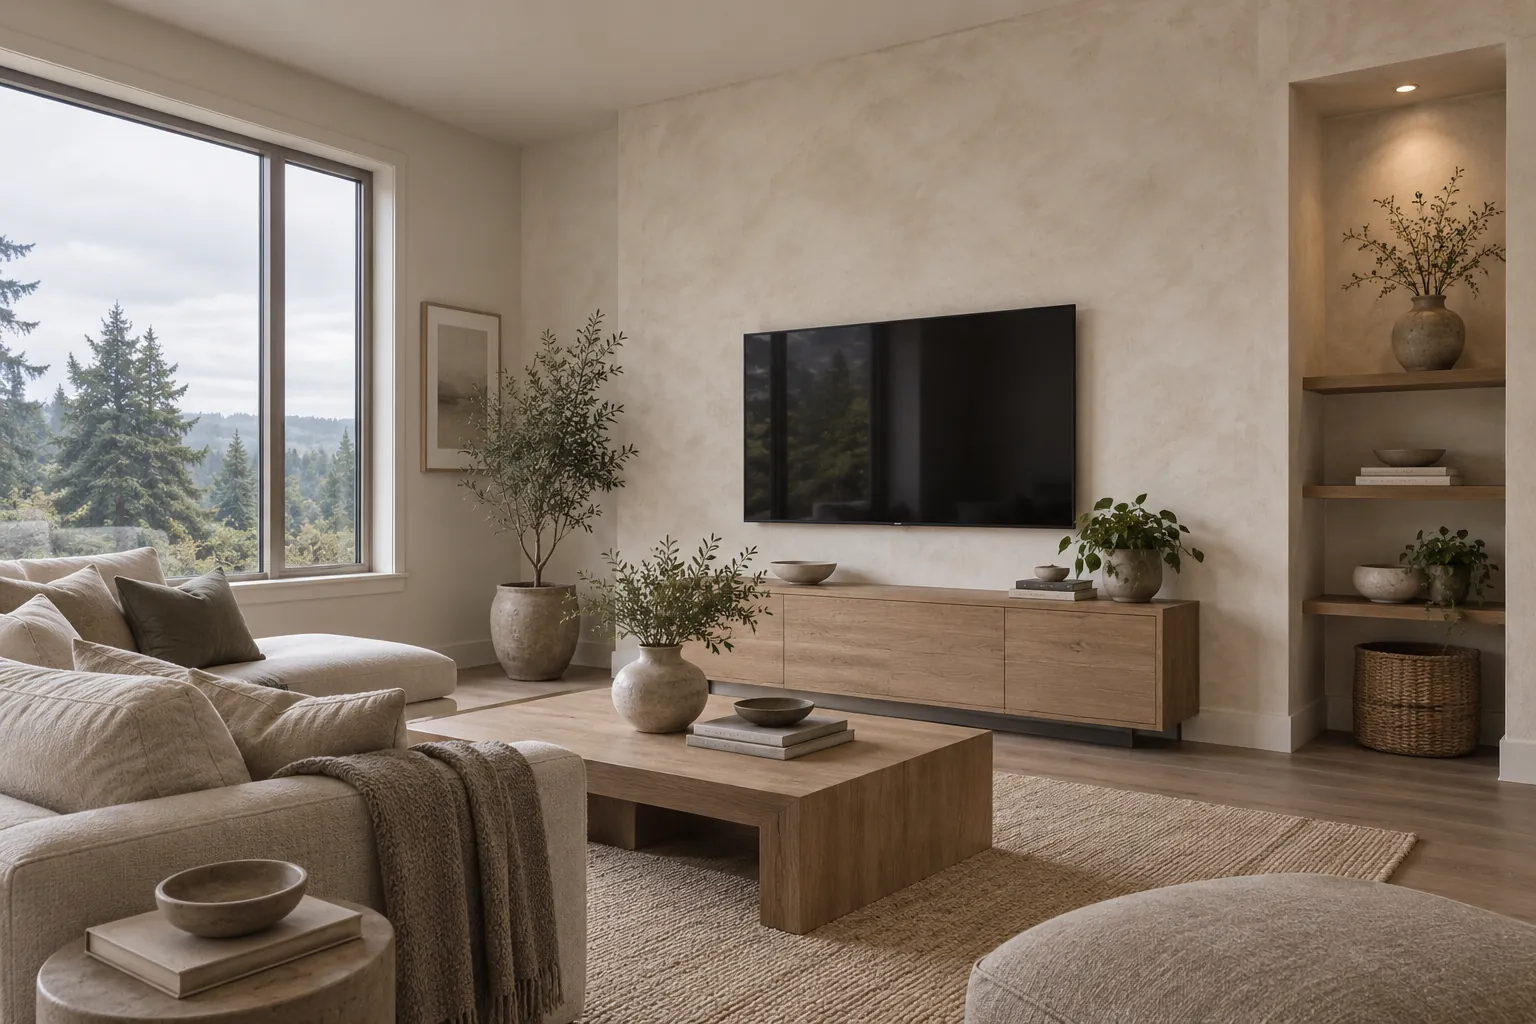
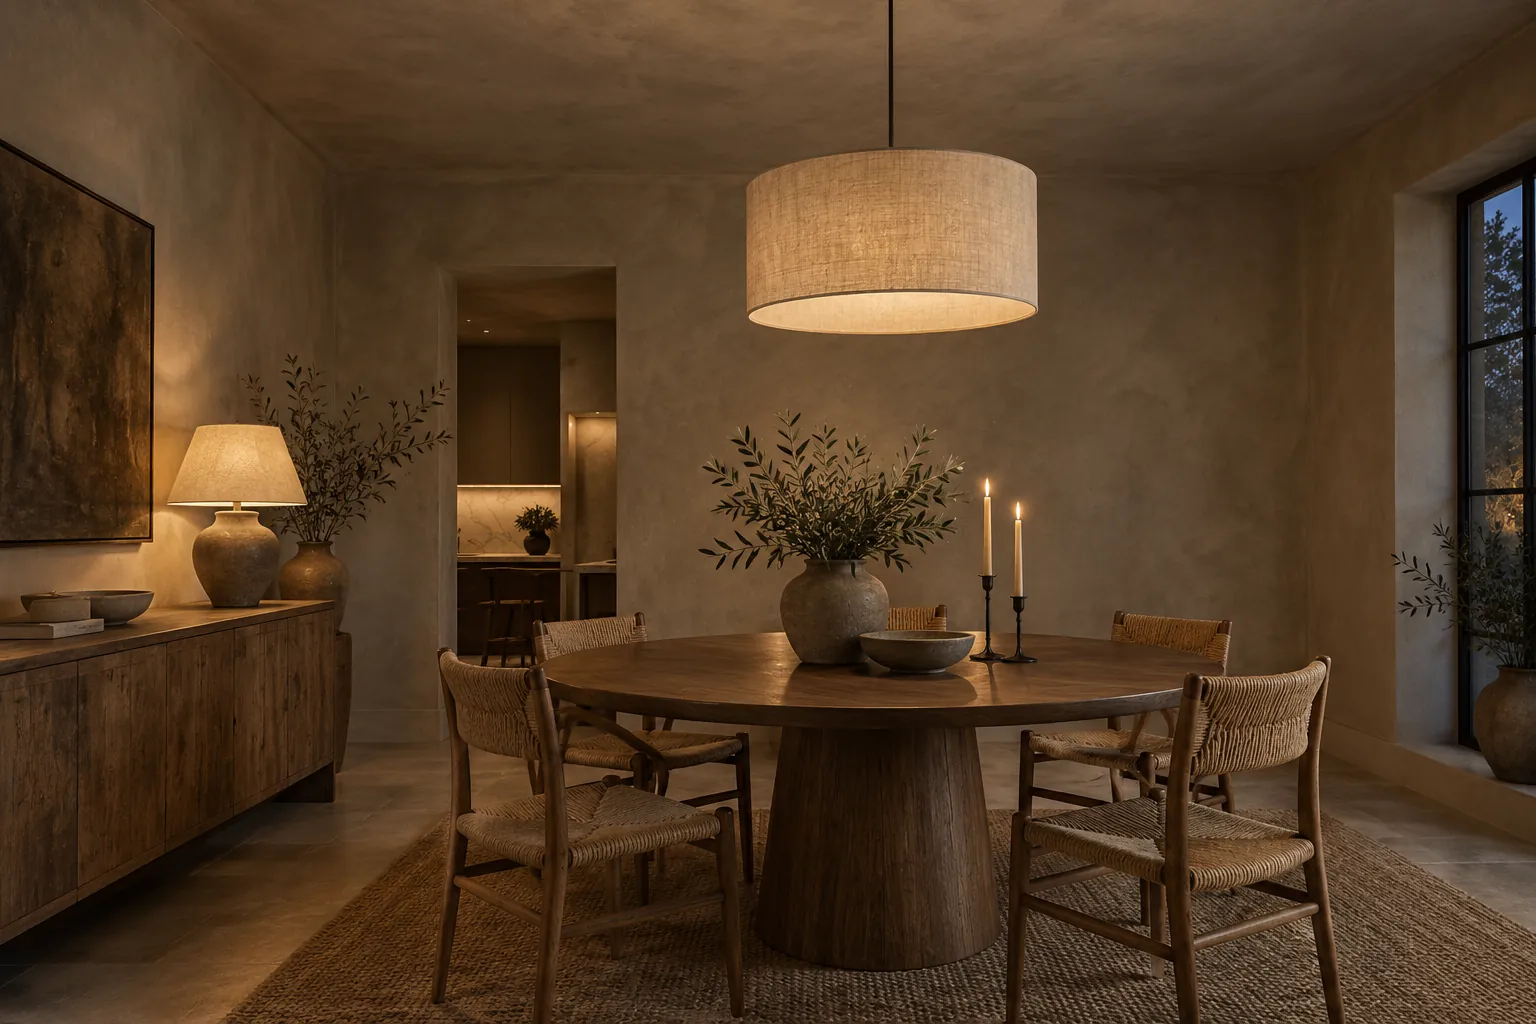
Dining room with walls and ceiling in deep warm taupe limewash under a linen drum pendant
Home
1940s house, dining room with a doorway to the kitchen
Original request
A deep, warm color on the walls and ceiling instead of flat paint
Surface
Plaster walls and ceiling, painted many times
Area
About 260 sq ft of wall plus a 115 sq ft ceiling
Existing finish
Old paint layers under a satin latex
Finish
Deep warm taupe in a lime paint made for painted walls, two coats over an undercoat
Timeline
Four working days
Cost
$3,300

Scope of work

Lead-safe sanding and cleaning of the satin paint by a certified firm, included in this estimate; filling cracks in the plaster; the undercoat the product needs over sheen paint; two brushed coats on the ceiling and walls; full protection of the floor, the window and the kitchen doorway.

Project overview

In this example, the owners want the dining room to feel close and warm by lamplight, so the color runs over the ceiling as well as the walls. They have seen flat dark paint in other houses and want a finish with more depth.

The plaster carries many coats of old paint, and the satin top layer has to be sanded before the undercoat will grip. In a house this old that sanding is lead-safe work, so it comes first, before any color goes on.

The goal

The goal is a deep, cloudy taupe that wraps the walls and ceiling and glows softly under the lamp at night.

Process

  1. Before work Boards in deep taupe and a lighter clay, dried fully and looked at under the dining lamp.
  2. Day one Room sealed off and protected, lead-safe sanding and cleaning, plaster cracks filled.
  3. Day two Undercoat on the ceiling and walls.
  4. Day three First coat, ceiling first, then one wall at a time without stopping.
  5. Day four Second coat, touch-ups and clean-up.

Planning right

  • In a home built before 1978, we plan the lead-safe handling of the old paint first. Washington’s lead-safe rules require a certified firm for paid work that disturbs it.
  • Lime can only be tinted so dark, because the white lime softens the pigment. A near-black room needs a different product.
  • Deep colors look several shades darker while wet. The boards are judged under the lamp only once they have dried overnight.
  • Chair backs that knock the wall will mark plain lime. Leave a small gap behind the chairs and the sideboard.

Request a free quoteMore about interior limewash walls

Stone entry with new columns on a 1980s single-story house

Example project

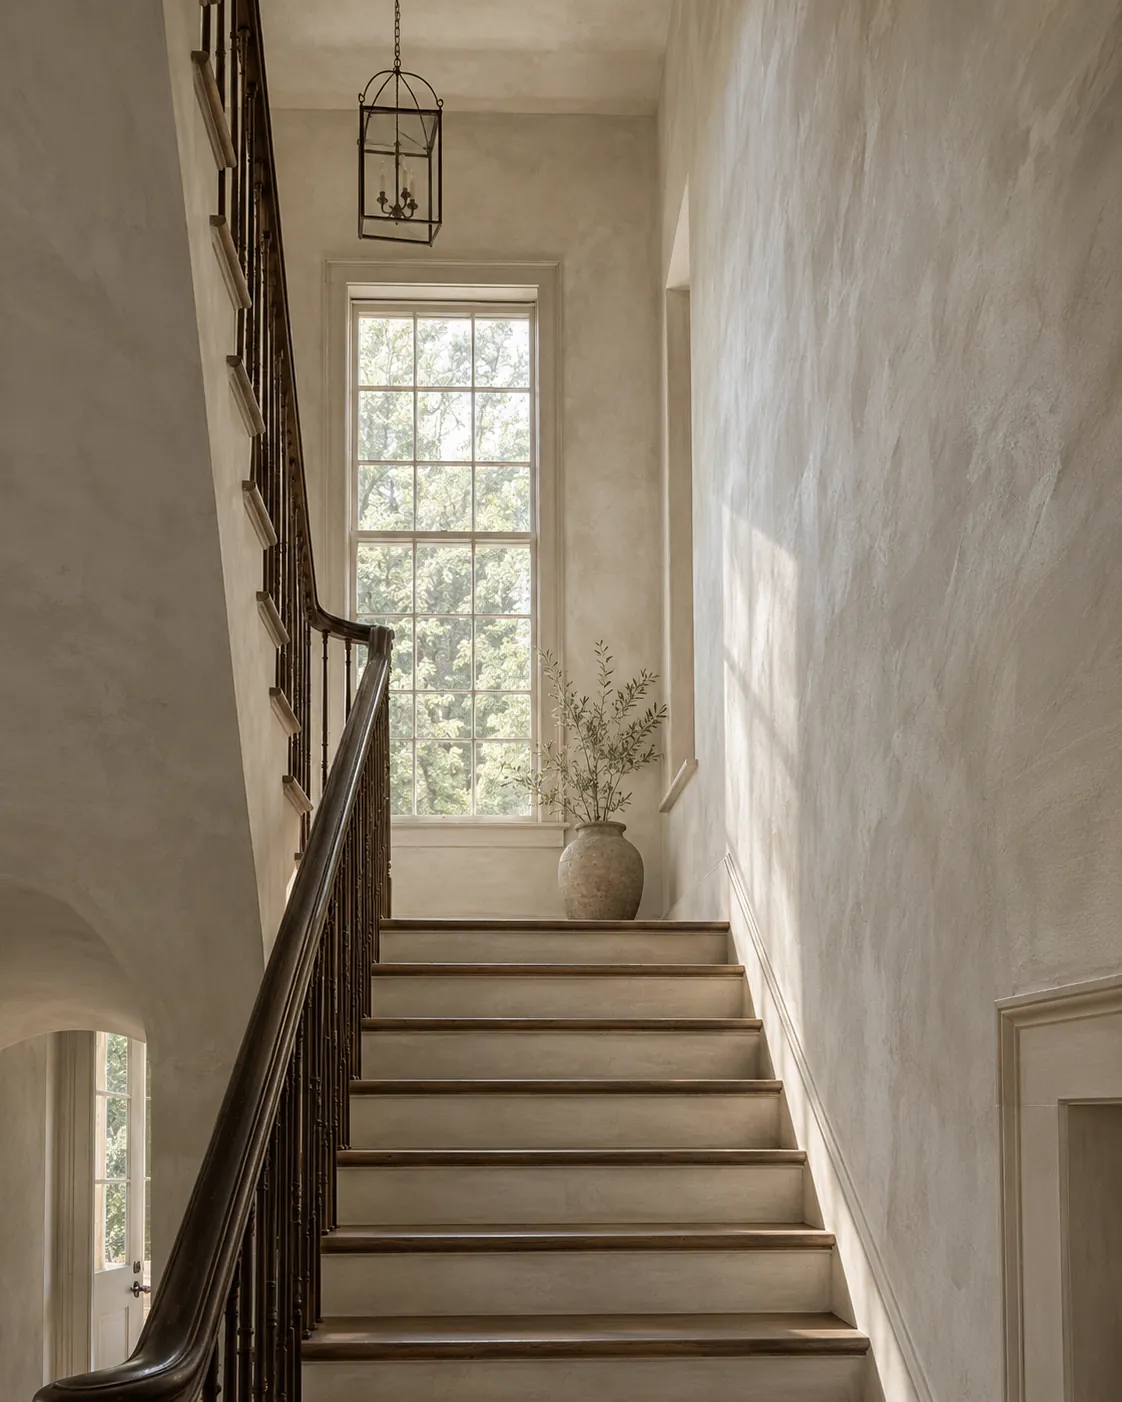
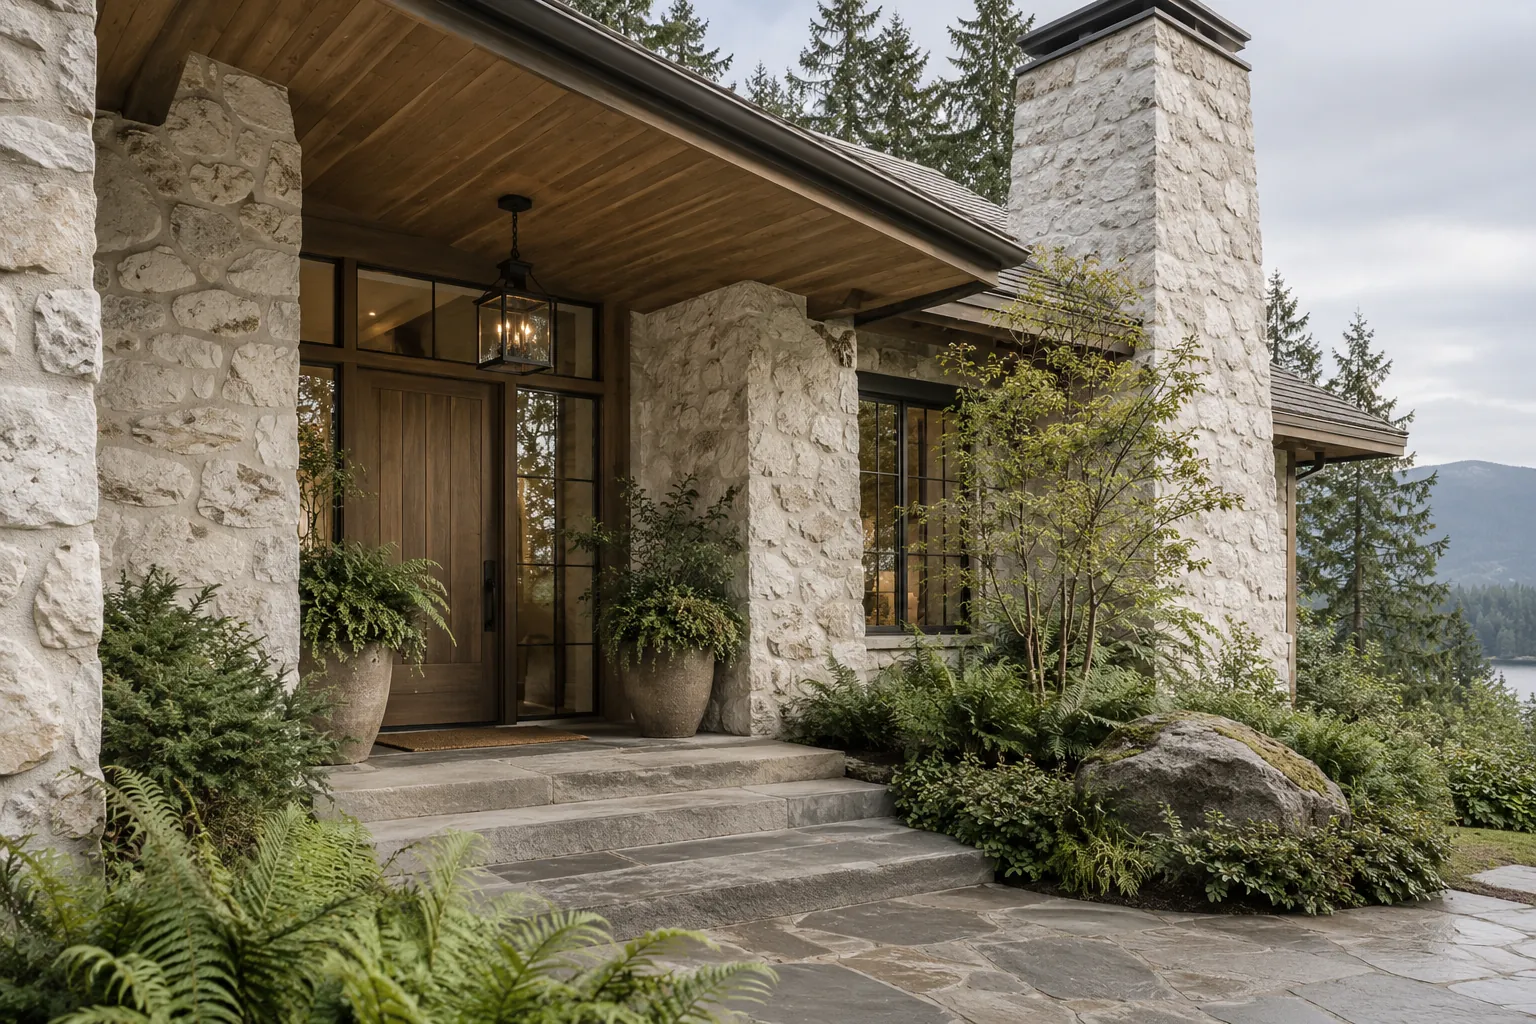
Single-story house with stone entry columns, front walls and chimney limewashed in pale bone white
Home
1980s single-story house with a covered entry
Original request
Make the new stone on the rebuilt entry columns match the older stone
Surface
Veneer on the front walls, the two entry columns and the chimney
Area
About 450 sq ft of stone
Existing finish
Weathered older veneer, and new veneer on the two columns
Finish
Bone-white limewash, two coats, brushed fuller on the new columns
Timeline
Three working days, plus a short visit 10 to 14 days later
Cost
$3,500

Scope of work

Starting once the mason’s work is finished and dry; a water test on old and new stones; cleaning; protection of the door, windows, steps and planting; two brushed coats, the second one fuller on the new columns; ladder work on the chimney; a return visit 10 to 14 days later to brush a breathable water-repellent topcoat onto the top of the chimney. The flagstone steps stay bare.

Project overview

In this example, the porch has been rebuilt and the two entry columns are faced with new veneer. Next to the weathered walls and chimney the new stone looks clean and orange, and the owners want the front of the house to look like one piece again.

Old and new stone rarely take up water at the same rate, so both are tested before any coat. The plan puts two coats over the whole front, with the second brushed fuller on the new columns until they settle in with the rest.

The goal

The goal is a pale bone-white front where the new columns no longer stand out, and the shape of every stone still shows.

Process

  1. Before work Water drops on old and new stones, and a board brushed for each.
  2. Day one Stone washed down, door and windows covered, then the first coat over walls and columns.
  3. Day two The chimney from ladders, then the second coat, fuller on the new columns.
  4. Day three A check in afternoon light, touch-ups and clean-up.
  5. 10 to 14 days later Back with ladders to coat the chimney top with water repellent.

Planning right

  • New manufactured veneer can be denser than old stone. If drops sit on it instead of soaking in, the columns need a different plan before any lime.
  • The top of a chimney takes rain from every side. A breathable water-repellent coat there, about two weeks after the limewash, slows the wear.
  • Each outdoor coat needs a day or two without rain. In Everett that usually means booking between late spring and early fall.
  • We leave the flagstone steps bare. Lime wears quickly on anything people walk on.

Request a free quoteMore about limewash stone

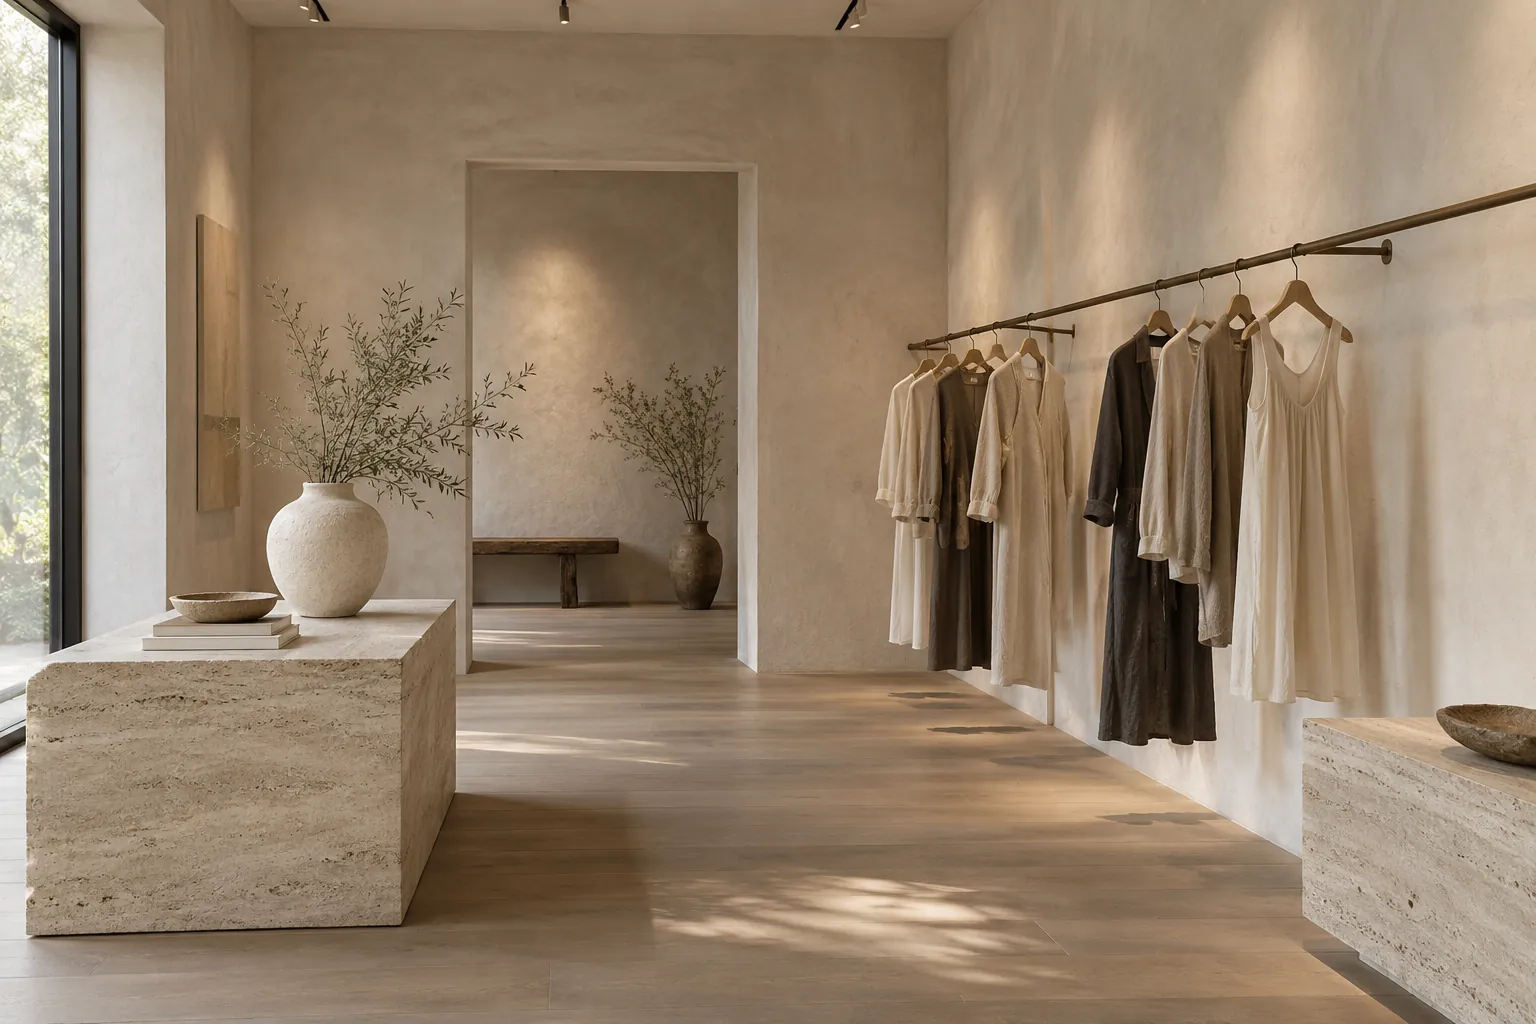
New clothing shop finished before opening day

Example project

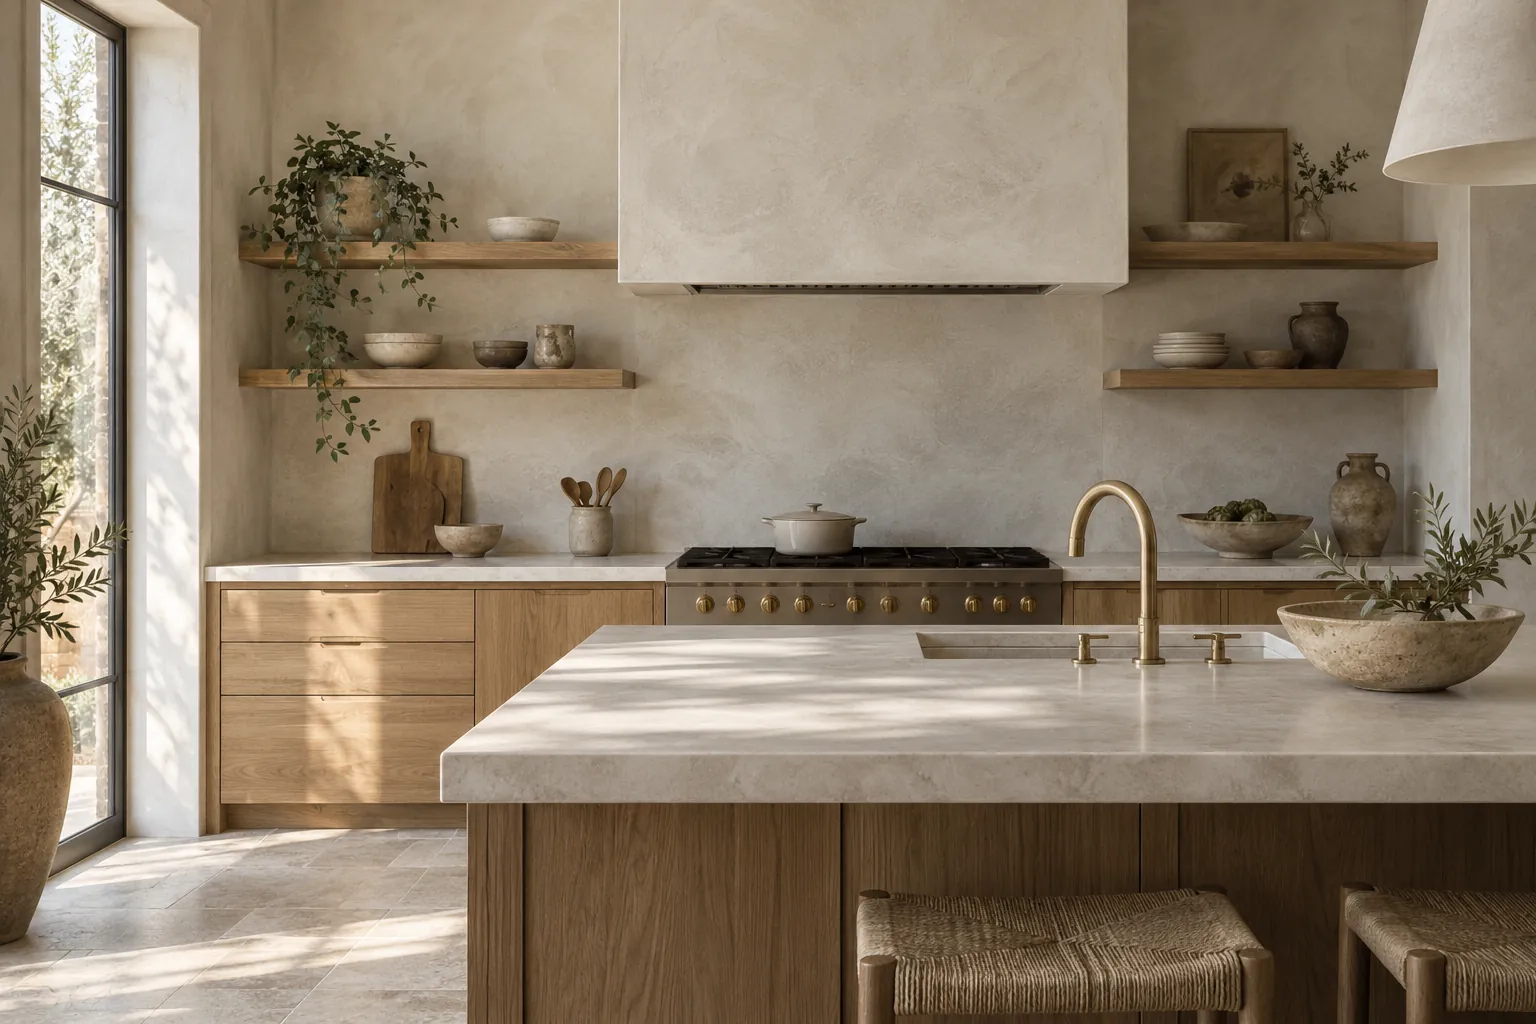
Clothing shop with pale clay limewash walls, a long hanging rail and travertine display blocks
Building
Clothing shop with a long hanging rail and a doorway to a back room
Original request
Finish the new drywall in lime instead of paint before opening day
Surface
New drywall, taped and sanded
Area
About 400 sq ft of wall
Existing finish
Bare drywall, not yet primed
Finish
Drywall primer and undercoat, then a lime paint in pale clay, two coats, with a clear matte sealer on the rail wall
Timeline
Four working days, plus a short visit several days later
Cost
$4,100

Scope of work

Sample boards under the shop’s track lights; two coats of a stain-blocking drywall primer and the undercoat the lime paint calls for; two brushed coats; protection of the floor and the stone displays; a clear matte sealer brushed onto the rail wall several days after the last coat. The rail brackets and lights go in before the lime, and the rail itself is masked.

Project overview

In this example, the shop is a new fit-out with fresh drywall, and the owner wants soft clay walls behind pale linen clothes. Opening day is fixed, so the lime is planned as the last trade, after the electricians and carpenters have finished.

New drywall cannot take lime directly. It needs two coats of primer and an undercoat first, which adds two days, so the schedule works back from the opening date and leaves room for the sealer visit.

The goal

The goal is a calm clay backdrop that makes pale clothes stand out, finished, sealed and dry before the doors open.

Process

  1. Two weeks before Boards brushed in pale clay and warm sand, checked under the track lights; the tinted lime ordered.
  2. Day one Floor and displays protected, first coat of drywall primer.
  3. Day two Second primer coat, then the undercoat.
  4. Day three First coat of lime, one wall at a time.
  5. Day four Second coat and clean-up.
  6. Several days later Clear matte sealer on the rail wall, where clothes and hands rub.

Planning right

  • Tinted lime is mixed to order and takes a few business days. Order it as soon as the color is chosen.
  • Clothes and hands rub along a rail wall. A clear matte sealer keeps that wall cleanable, and it suits a pale color like this one.
  • Shop lights change how a color reads. Look at the boards under the lights the shop will use.
  • Everett lists painting as permit-exempt for one- and two-unit homes only. For a shop, we check with the city before booking.

Request a free quoteAbout commercial limewash

More limewash finishes

Below are more limewash images in pale and deeper colors, on plaster, brick, stone and shop walls. Use them to narrow the color down, then judge it again on boards brushed onto your own surface.

Interior walls and rooms

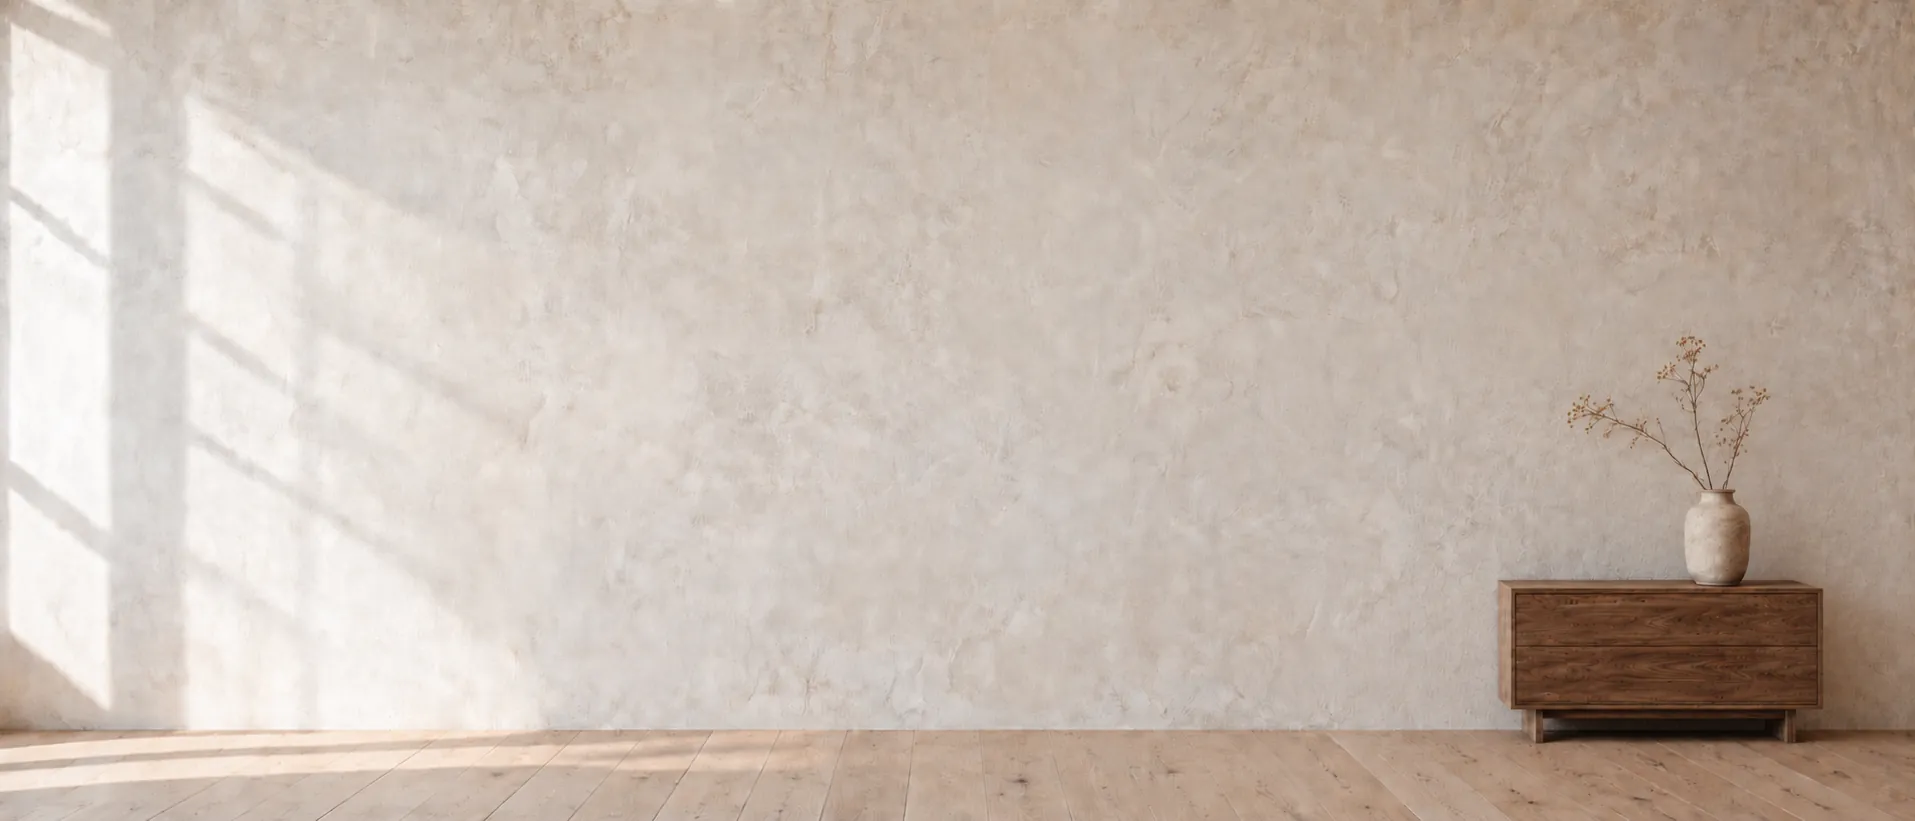
A chalk-white limewashed wall with a compact walnut sideboard and a stoneware vase of dried branches
Chalk-white limewash wall with a walnut sideboard
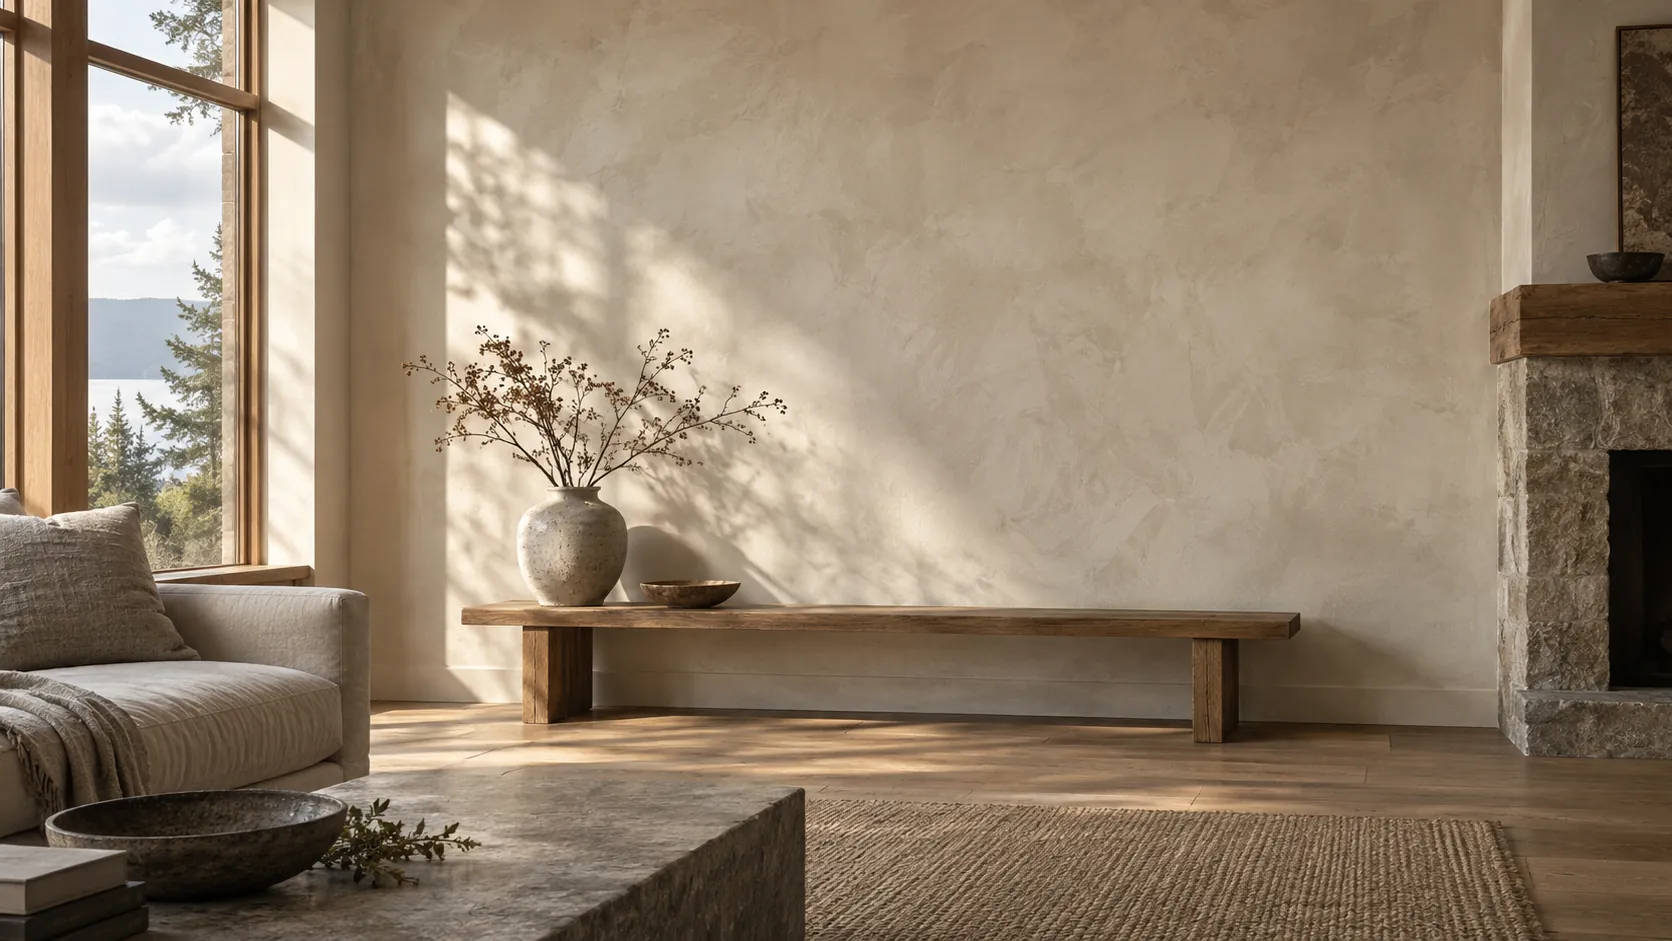
Ivory limewash on a living-room wall in low morning light
Warm ivory limewash wall in a living room
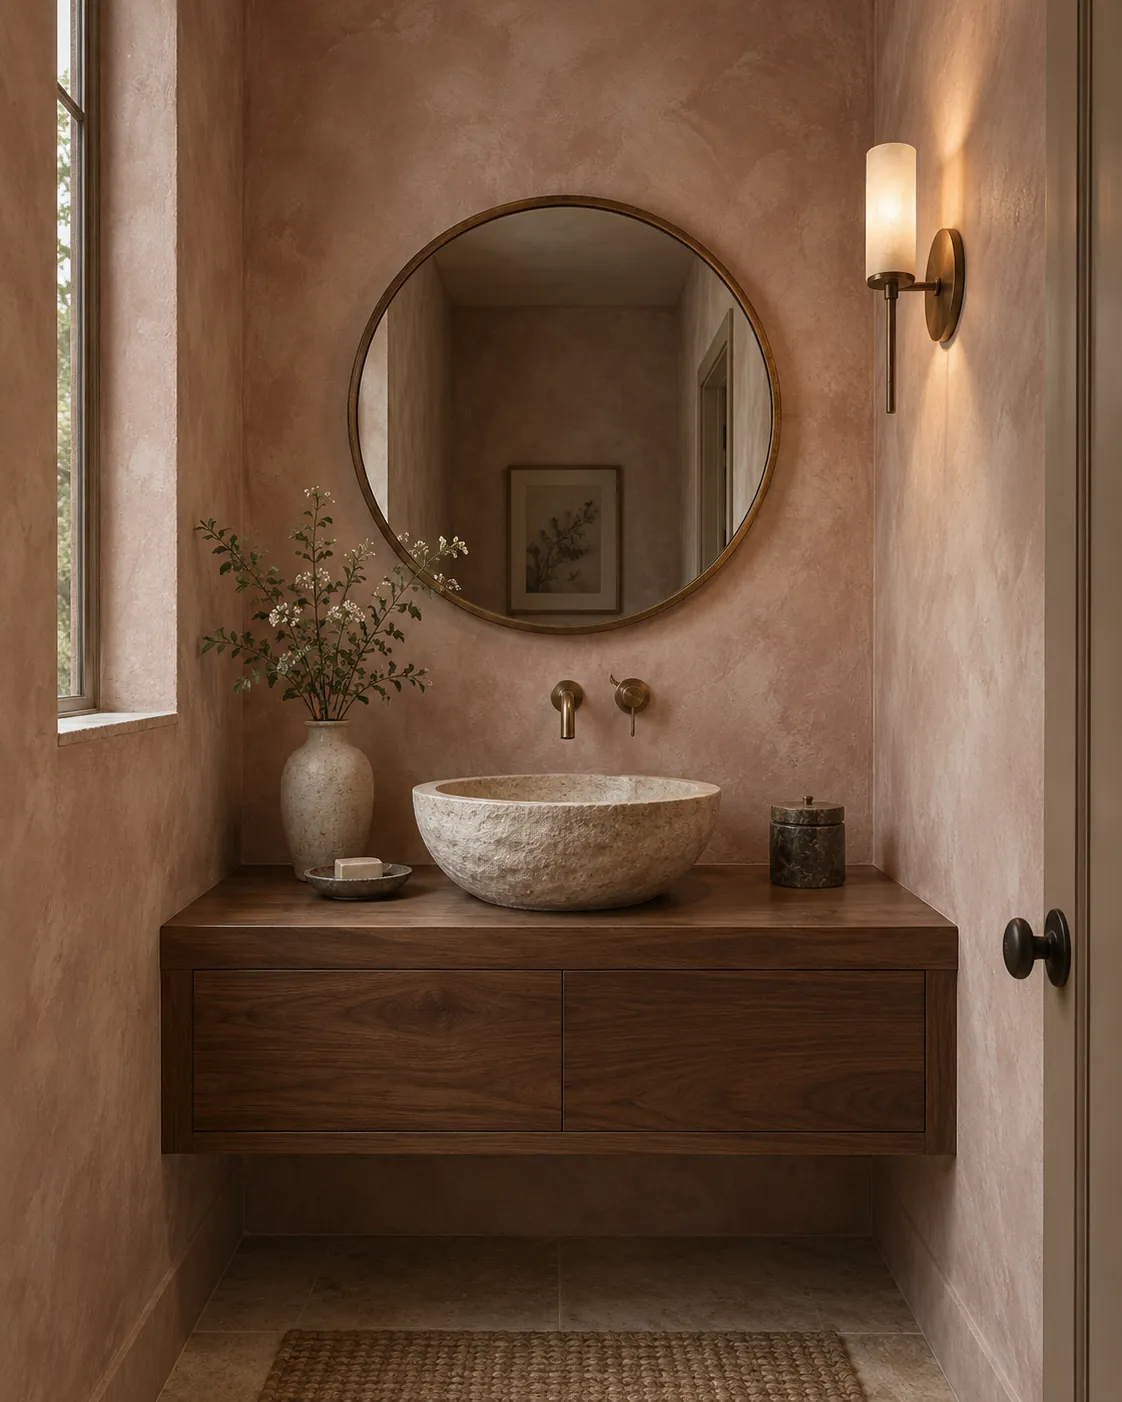
Powder room with clay-pink limewash walls and a carved stone basin
Clay-pink limewash in a powder room
Bedroom with putty-white limewash walls
Putty-white limewash in a bedroom
Family room with limewash over primed drywall
Warm-white limewash over primed drywall
Stair hall finished in oatmeal limewash
Oatmeal limewash in a two-story stair hall
Kitchen with limewash range hood and wall behind open shelves
Creamy limewash on a range hood and kitchen wall

Commercial interiors and more surfaces

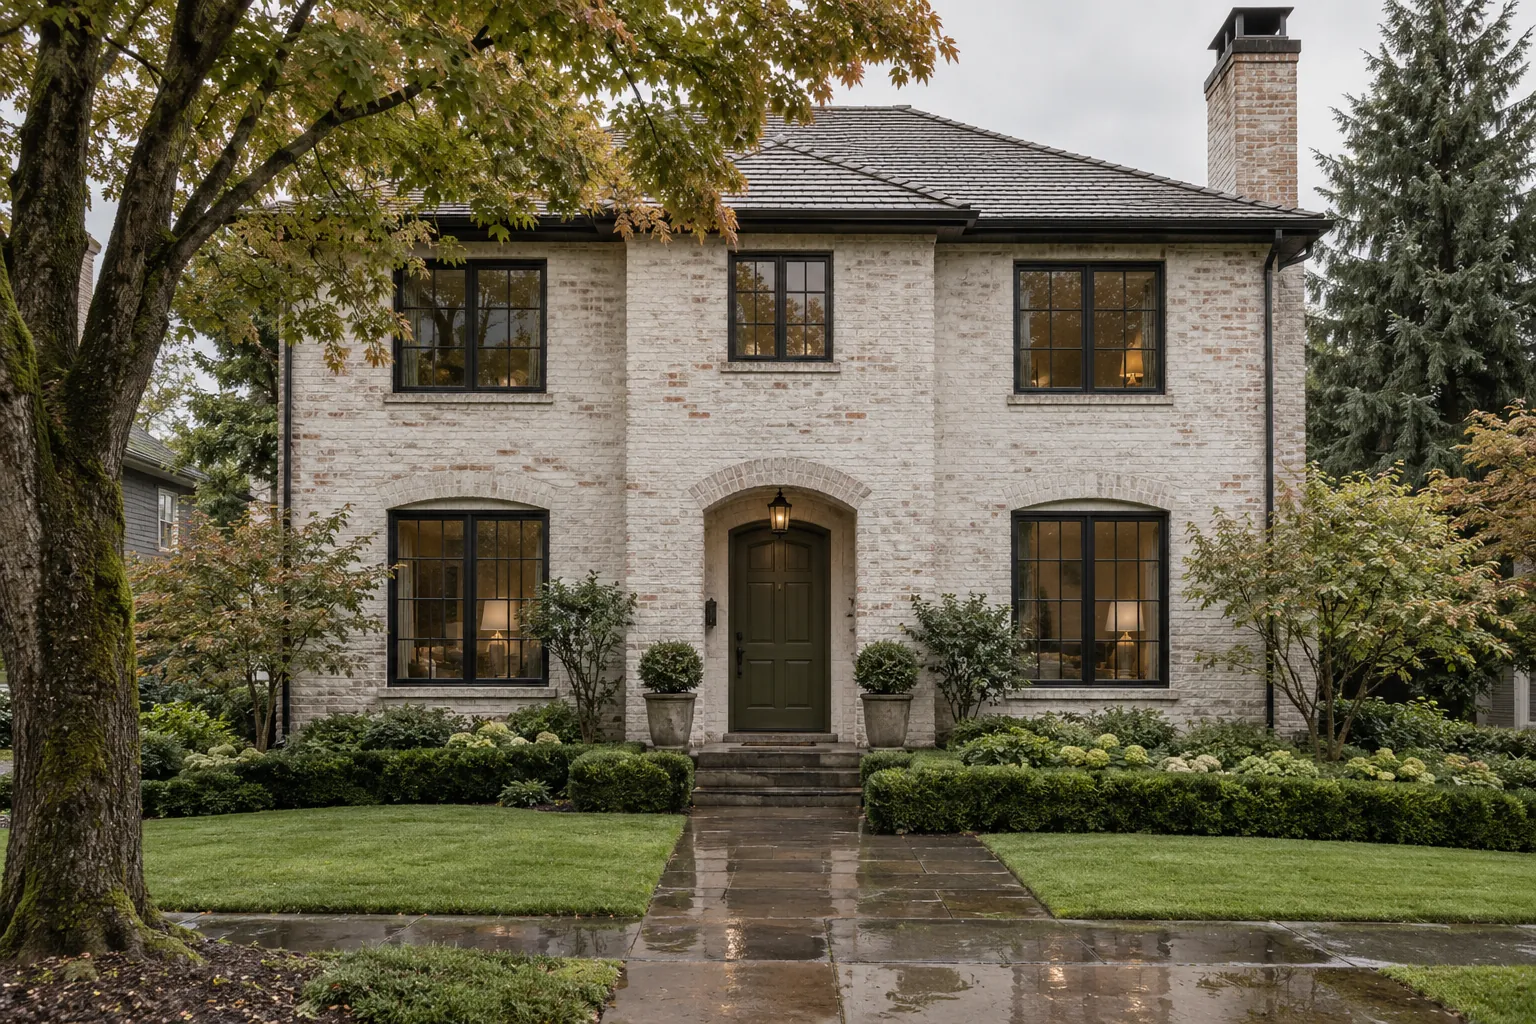
Two-story brick house with soft white limewash
Brick house limewashed in soft warm white
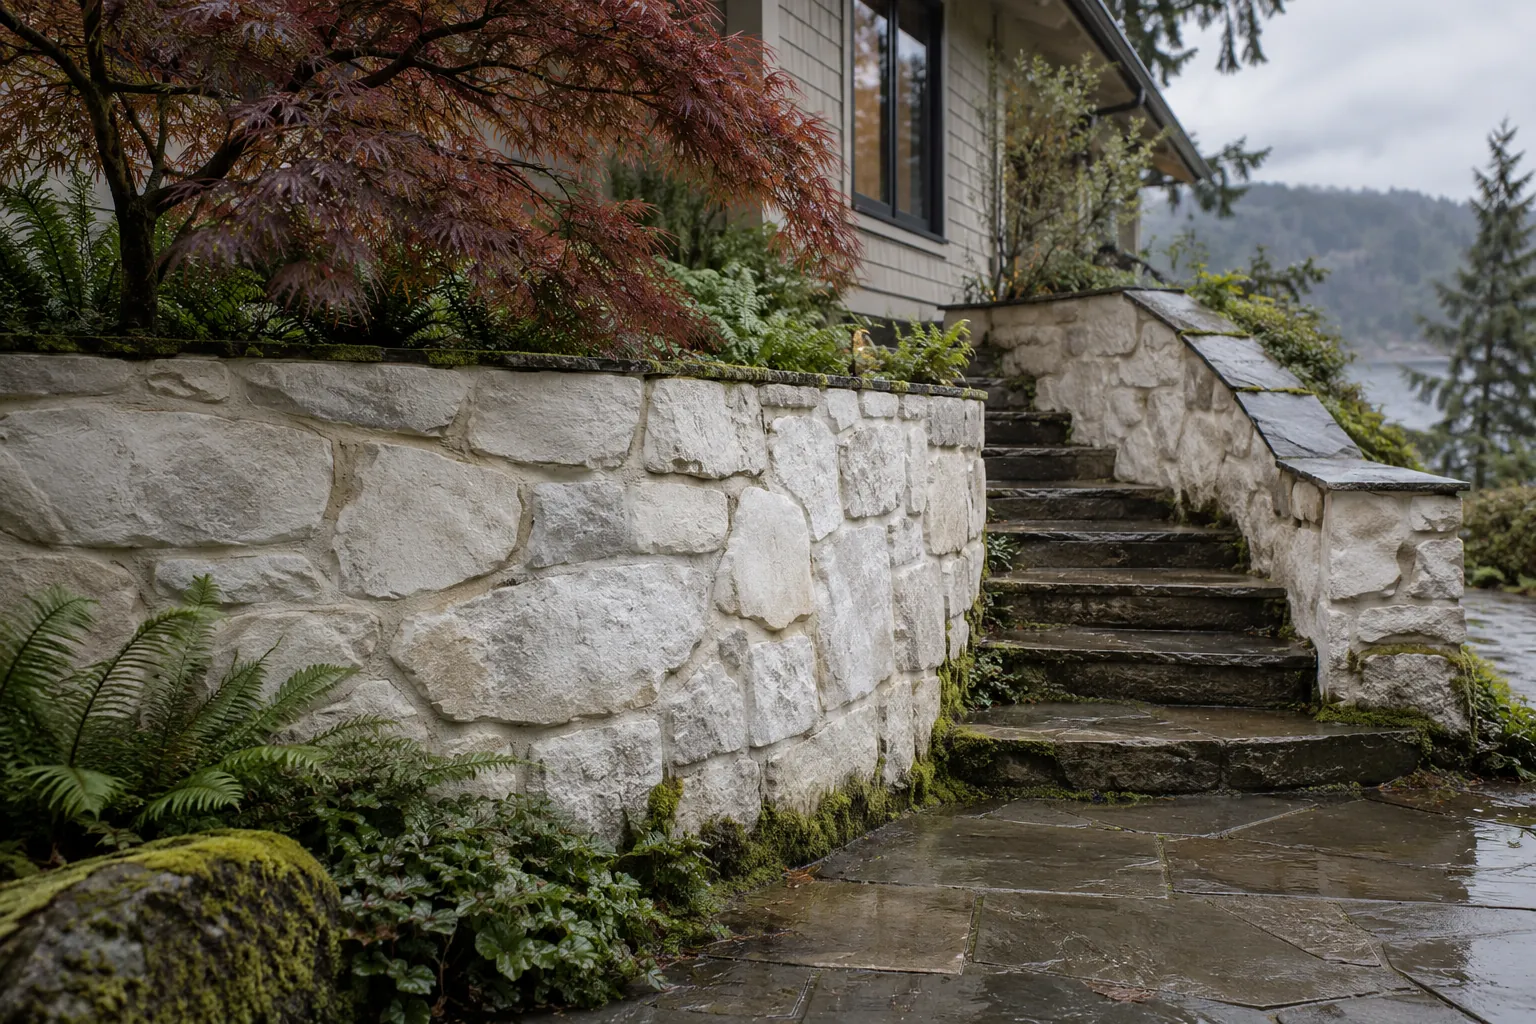
Fieldstone retaining wall and steps limewashed bone white
Fieldstone retaining wall in bone-white limewash
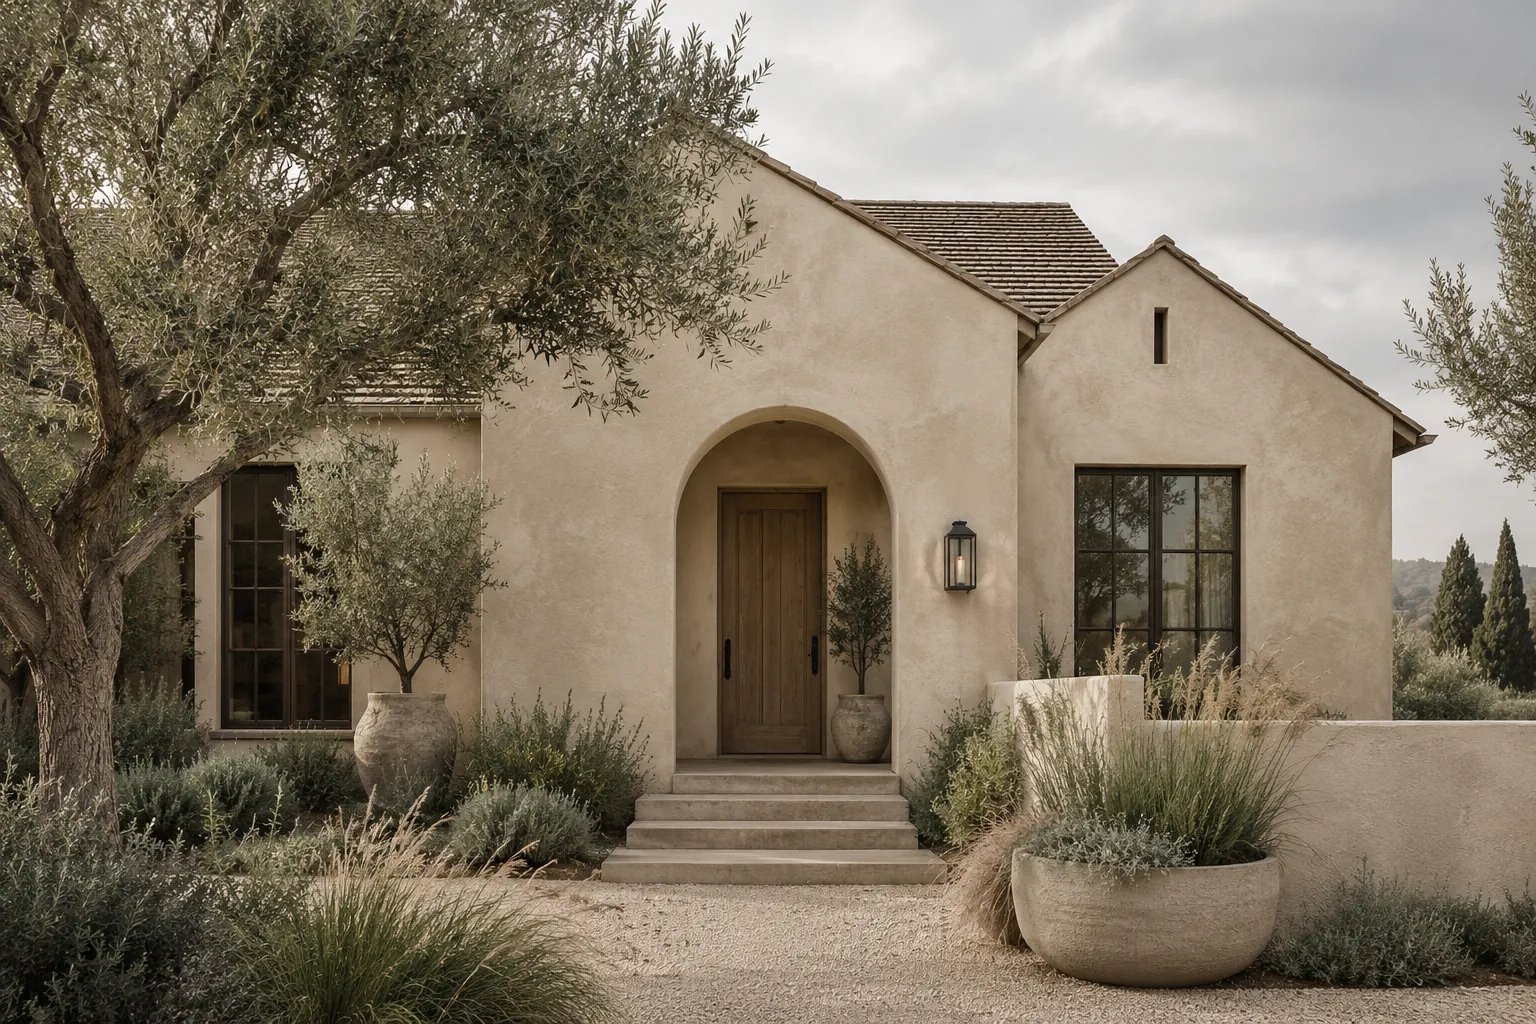
Single-story stucco house in sand-colored limewash
Warm sand limewash on a stucco house
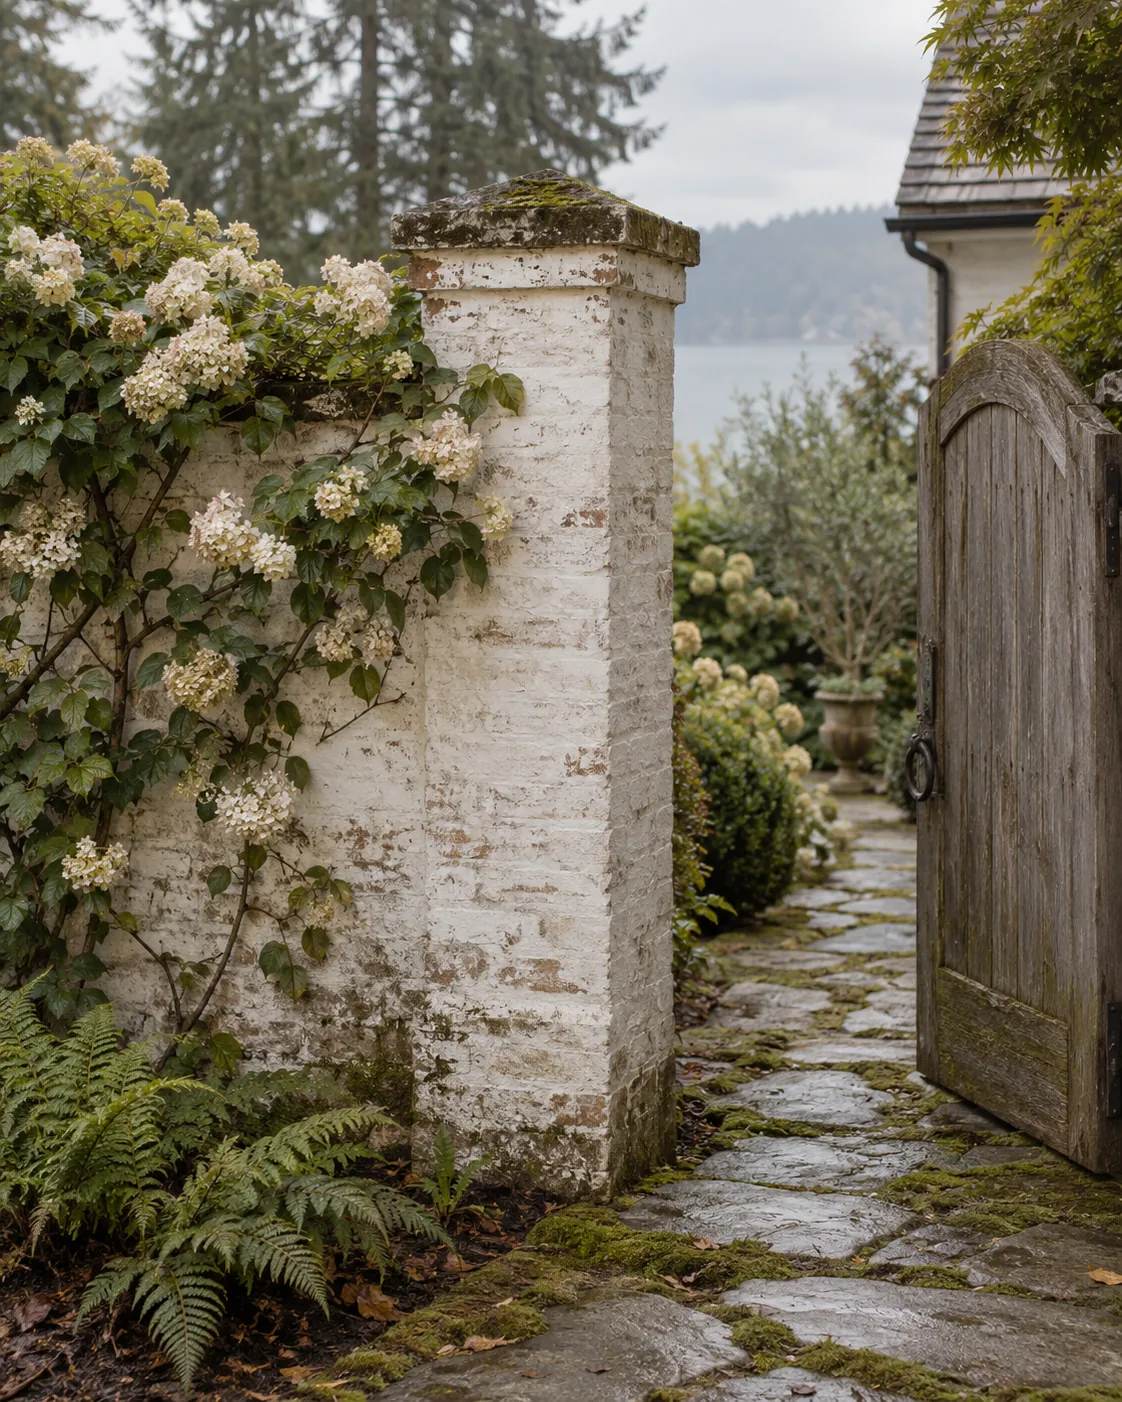
Brick garden pier with weathered limewash
Weathered white limewash on a brick garden pier
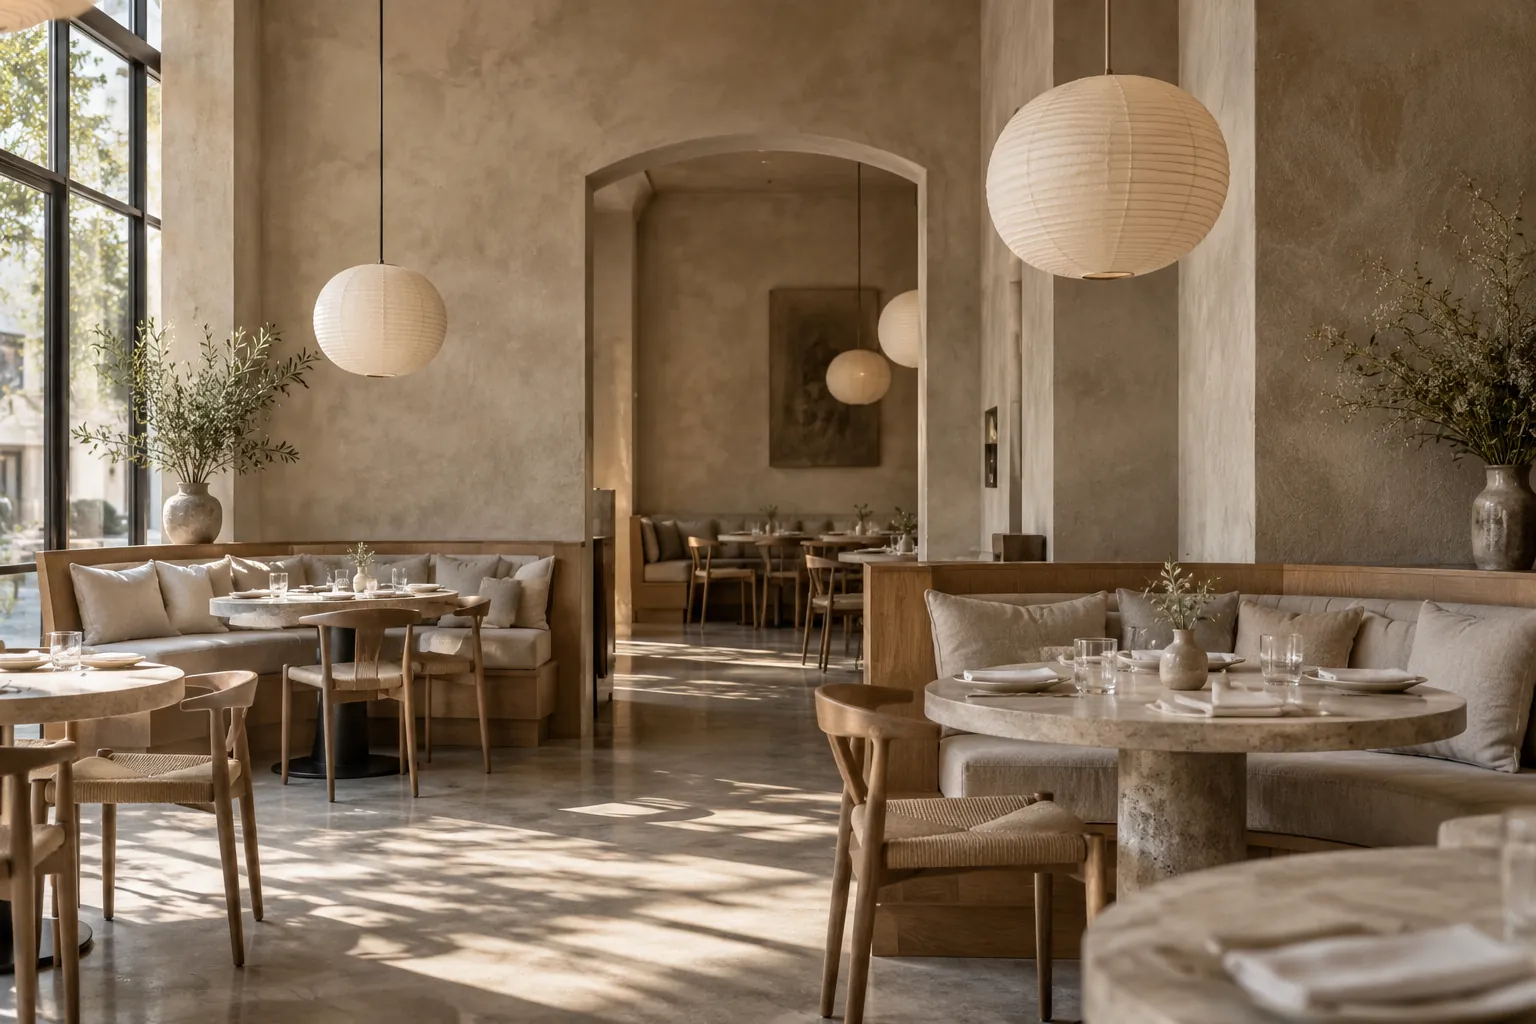
Restaurant dining room with taupe limewash walls
Warm taupe limewash in a restaurant dining room
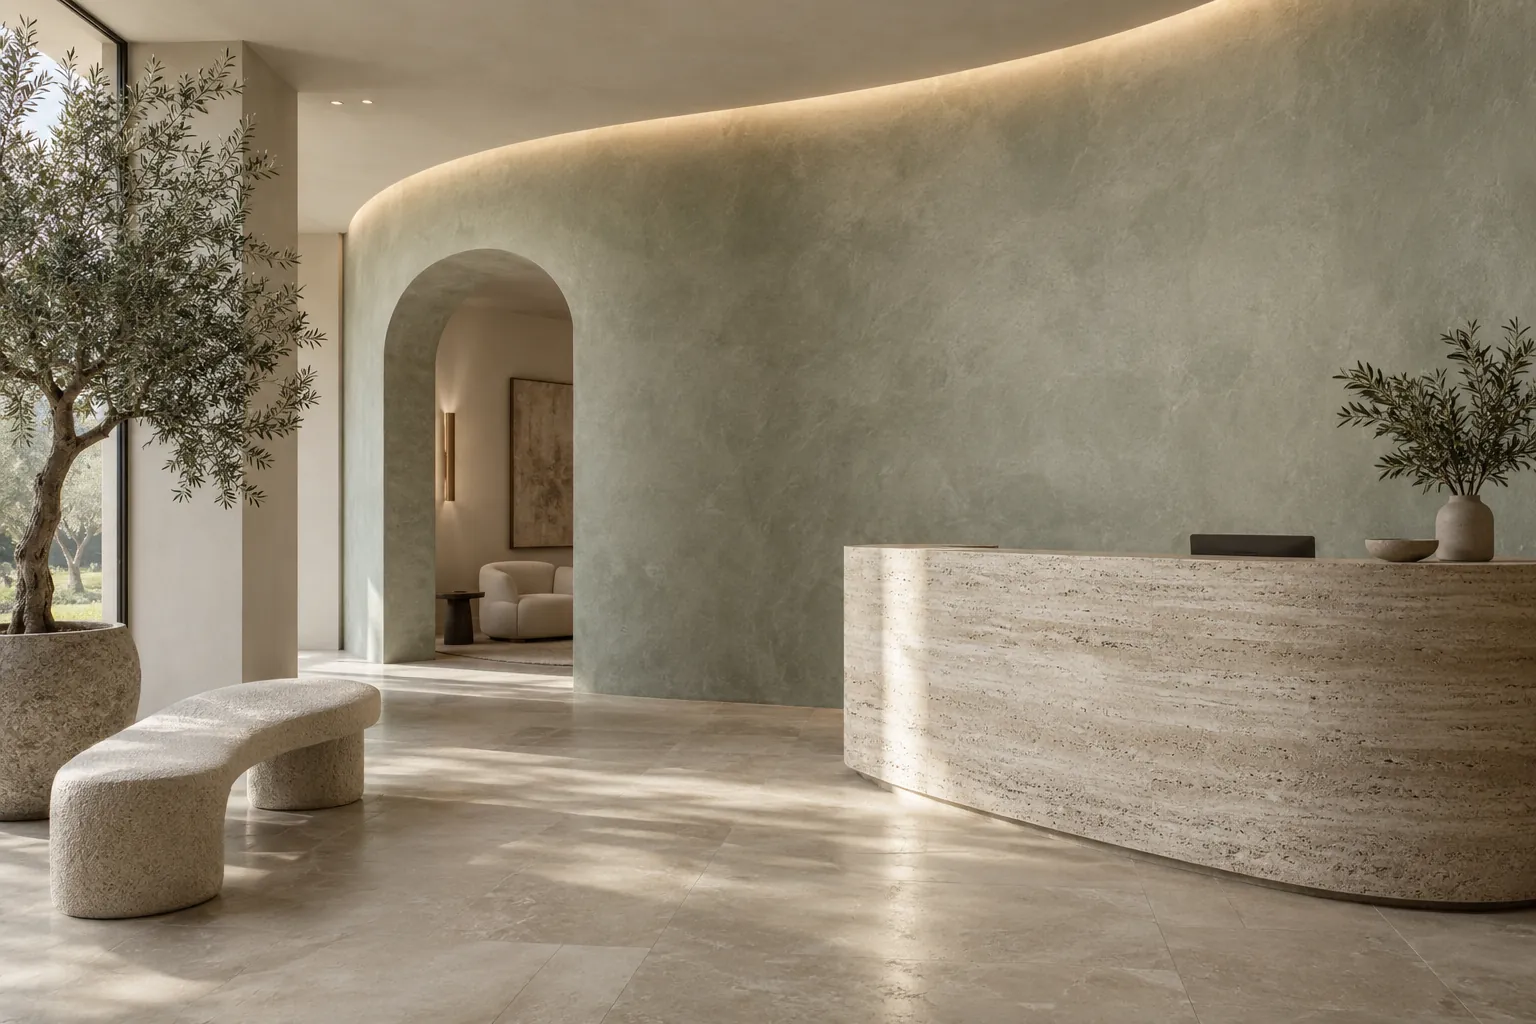
Lobby with a curved gray-green limewash feature wall
Gray-green limewash on a curved lobby wall
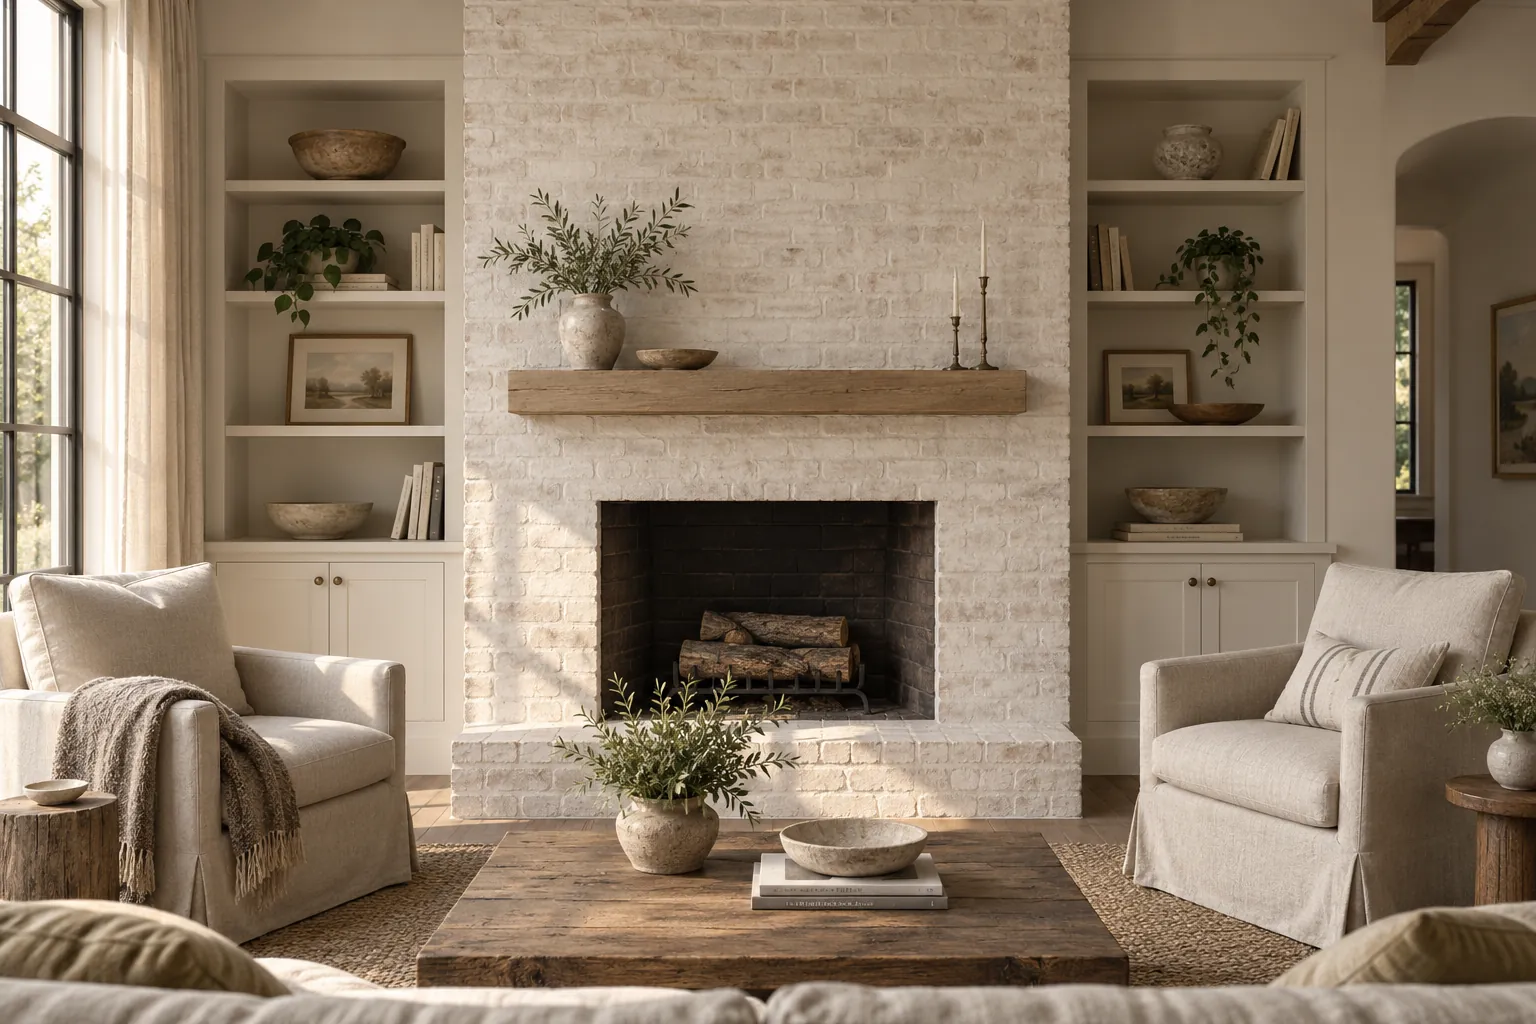
Brick fireplace in white limewash between built-in shelves
Chalky white limewash on a brick fireplace
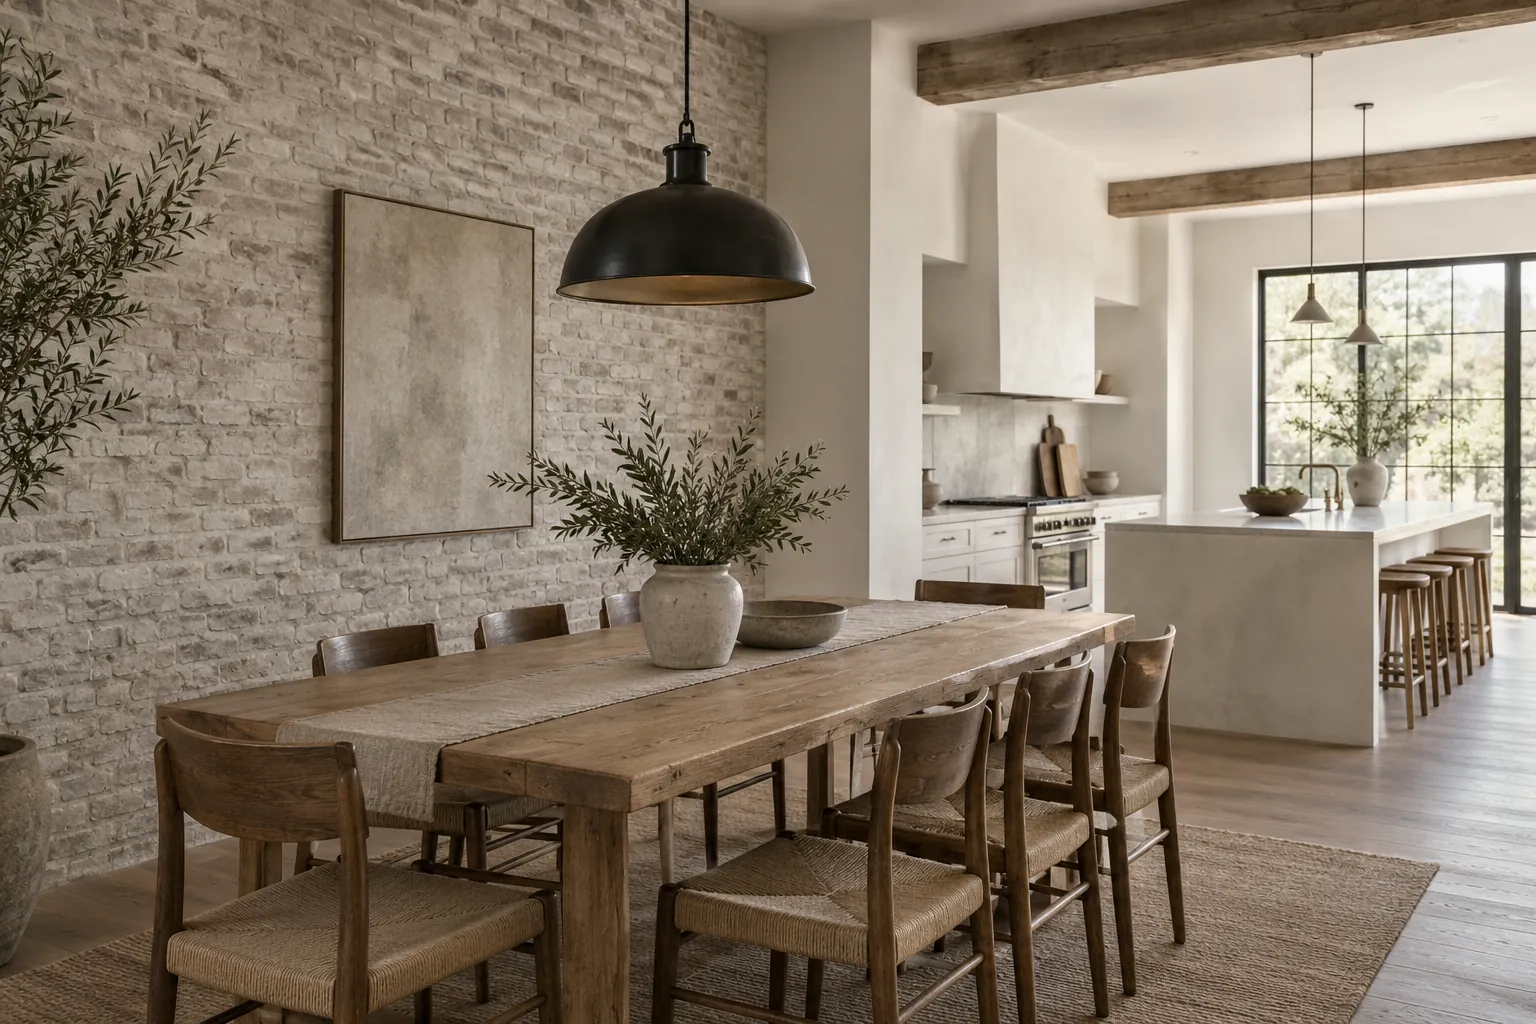
Dining area with a limewashed interior brick wall
Interior brick wall in pale stone-gray limewash
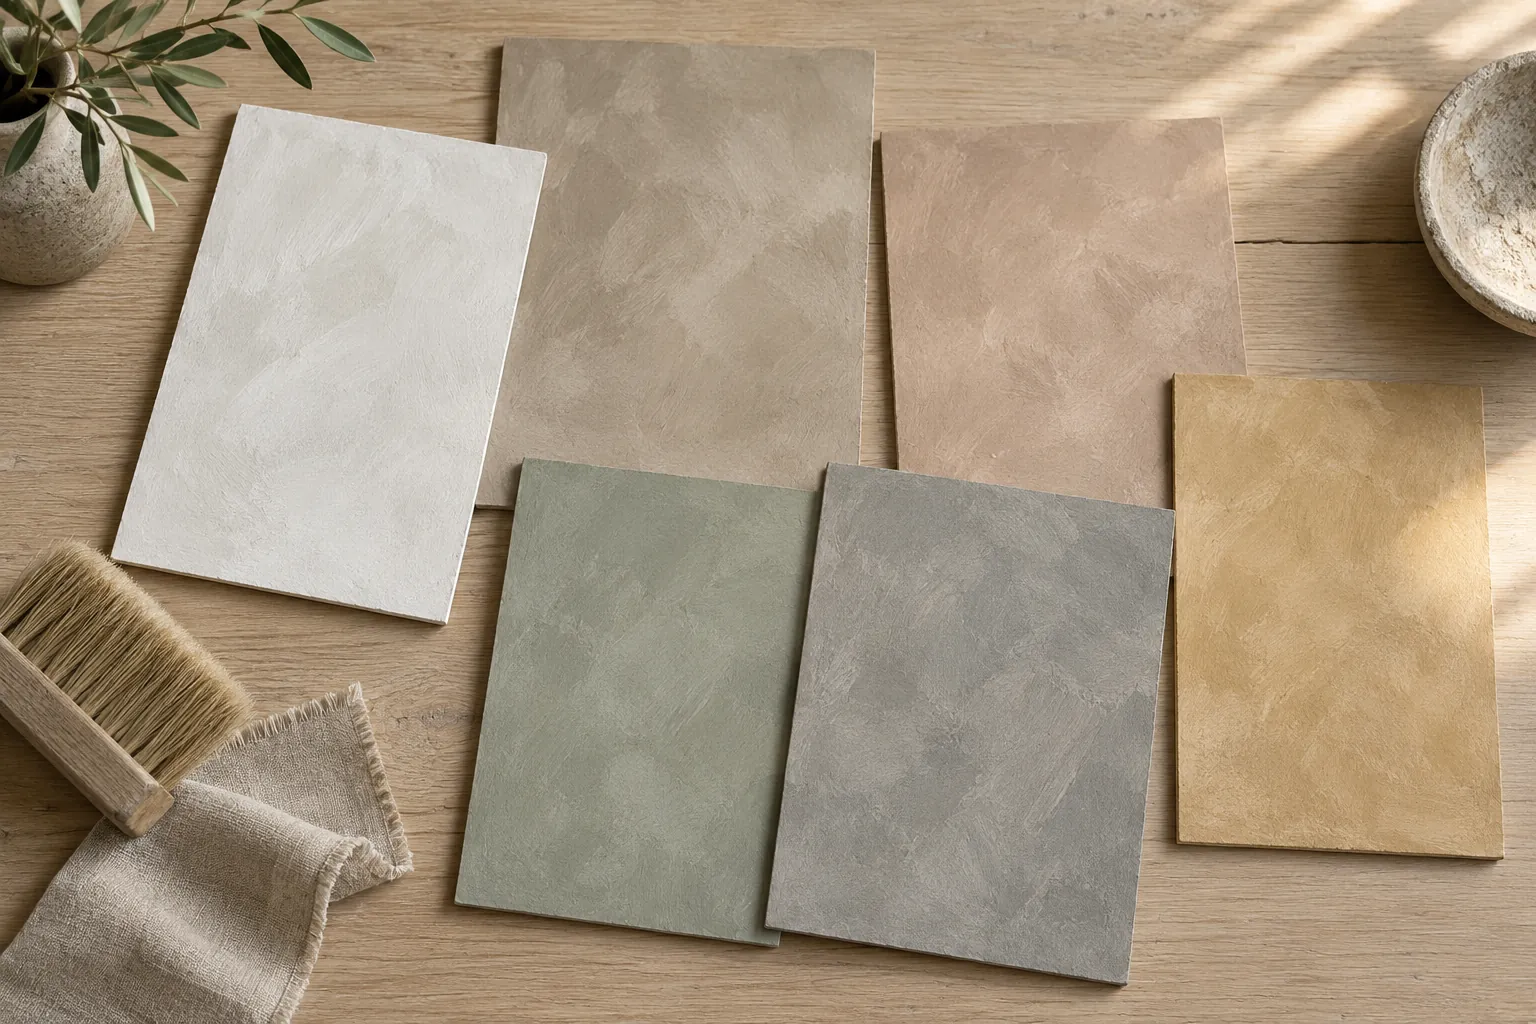
Limewash sample boards in six mineral colors
Hand-brushed limewash sample boards

Request a free limewash quote

Tell us which surfaces you have in mind, roughly how big they are and where the property is. We'll get back to you soon with an estimate or any questions we have. Estimates are free and there's no obligation.

Call (425) 366-7295

Call (425) 366-7295